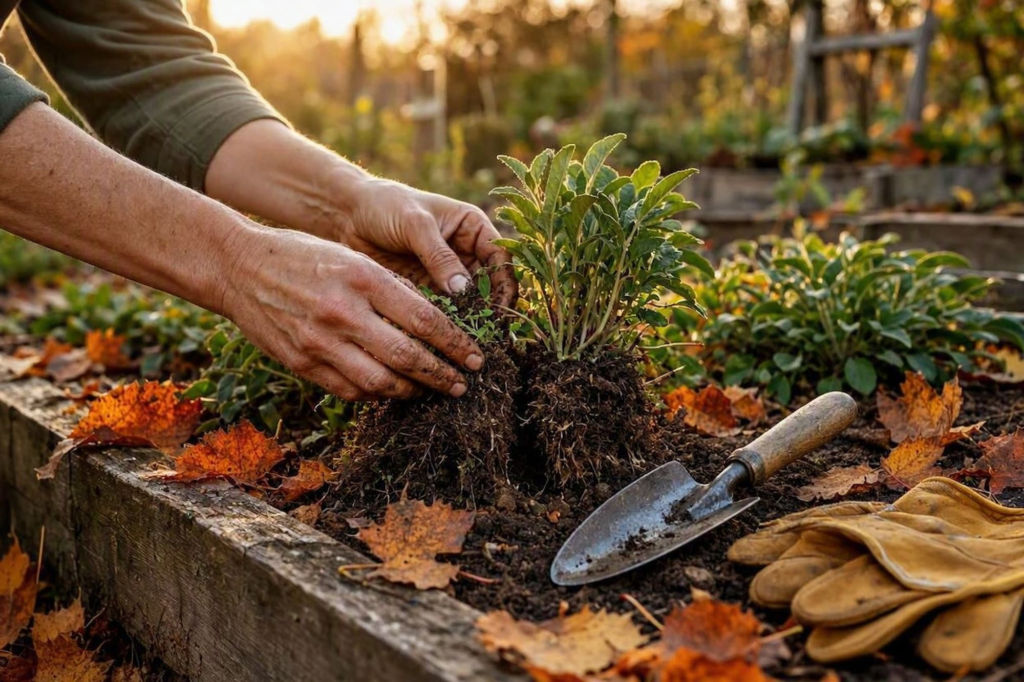
As summer color starts to fade, it’s tempting to think garden season is winding down. In reality, the next few weeks are some of the most important of the entire year. What you do in your garden now — how you clean up, divide, plant, and protect it — decides how much work you’ll have next spring, and how strong your plants will be when they wake back up.
This guide walks through every part of a proper fall garden prep, in the order that actually matters, so you’re not guessing what to tackle first.
Quick Answer
To prep your garden for fall, work through these steps in order: remove spent summer plants, cut back most perennials (but leave seed heads for birds), divide overcrowded perennials, plant spring bulbs, amend the soil, protect bare beds with mulch or a cover crop, bring in tender plants and tools, aerate and overseed the lawn, and finish with a protective layer of mulch around trees, shrubs, and beds. Doing this now — while the soil is still warm but the air has cooled — gives roots time to establish before the ground freezes, which means less work and stronger growth come spring.
Why Fall Prep Matters More Than People Think
Most gardeners focus their energy on spring and summer, then let the garden fade quietly into winter without much attention. But a garden that goes into winter unprepared comes out of it worse: compacted soil, pest and disease carried over in old plant debris, bare soil eroded by winter rain, and perennials that struggled through freeze-thaw cycles with no protection.
A properly prepped garden, on the other hand, wakes up ahead of schedule. The soil is healthier, weeds are fewer, and plants that were divided or mulched in fall often outperform anything planted fresh in spring.
Step 1: Clean Up Spent Summer Plants
Start with the plants that are clearly done for the season — spent annuals, vegetable plants that have stopped producing, and anything that’s diseased or pest-damaged.
Ask:
- Is the plant still producing or has it stalled completely?
- Does it show signs of disease, mold, or pest damage?
- Is it an annual that won’t come back next year regardless?
Leaving dead or dying material in place over winter gives pests and disease somewhere to shelter until spring. Pull spent plants out, and if they were healthy, add them to your compost pile. Diseased material should be bagged and disposed of separately, not composted.
Step 2: Cut Back Perennials — Selectively
Most perennials benefit from being cut back to a few inches above the soil once they’ve died back for the season. This reduces the amount of dead material sitting in the bed and helps prevent fungal issues from developing over winter.
However, not everything should be cut down. Leave seed heads on plants like coneflowers, black-eyed Susans, and ornamental grasses standing through winter. They serve two purposes: they feed birds through the coldest months, and they add visible structure to a garden that would otherwise look completely bare.
Step 3: Divide Overcrowded Perennials
Early fall — once the soil is still warm but the air has cooled — is the ideal window for dividing perennials like hostas, daylilies, and irises.
To divide a clump:
- Dig up the entire root ball carefully.
- Split it into sections using a sharp spade or knife, making sure each section has healthy roots attached.
- Replant the divisions promptly, spacing them out to give room for next year’s growth.
This timing matters. Dividing now gives the new root sections time to establish before the ground freezes, which means less transplant shock and stronger growth in spring. It’s also the easiest way to get more plants without spending anything.
Step 4: Plant Spring-Blooming Bulbs
If you want tulips, daffodils, or crocuses next spring, this is the window to get them in the ground — waiting too long into the cold season means the roots won’t have time to establish before frost sets in.
A few pointers:
- Plant bulbs roughly twice as deep as the bulb is tall, pointed end facing up.
- Choose a spot with good drainage — bulbs that sit in soggy soil over winter tend to rot.
- Group bulbs in clusters rather than single rows for a fuller look in spring.
Step 5: Test and Amend Your Soil
Fall is one of the best times to test your soil’s pH and nutrient levels, because amendments like compost, lime, or aged manure need time to break down and integrate into the soil before spring planting begins.
Spread a layer of compost over your garden beds and work it lightly into the top few inches. If a soil test shows a specific deficiency, this is also the time to correct it — trying to fix soil chemistry right before spring planting rarely gives amendments enough time to take effect.
Step 6: Protect Bare Beds With Mulch or a Cover Crop
Bare soil left exposed over winter is vulnerable to erosion, nutrient loss, and weed takeover come spring. If you have vegetable beds that are finished for the season, you have two solid options:
- Plant a cover crop like clover or winter rye, which protects the soil structure and adds organic matter back into it as it breaks down.
- Cover the soil with mulch or shredded leaves, which achieves a similar protective effect with far less effort.
Either option is better than leaving soil bare through the cold months.
Step 7: Bring In Tender Plants and Tools
Before the first frost arrives, bring in anything frost-sensitive — potted tropical plants, herbs you’d like to keep growing indoors, and anything that won’t survive a hard freeze outdoors.
Once they’re inside, give them the best possible spot to adjust — our guide on how to choose the best spot for indoor plants covers light, heat, and airflow so the move doesn’t stress them out. And to keep them on track going forward, a simple weekly indoor plant care routine makes it much easier to catch problems early.
This is also the right moment to clean, sharpen, and oil your garden tools before they go into storage for the winter. A few minutes of maintenance now prevents rust and dull blades from becoming a problem you have to deal with come spring.
Step 8: Aerate and Overseed the Lawn
If your lawn took a beating from summer heat and foot traffic, early fall is the best window for aerating compacted soil and overseeding any thin or bare patches.
Cooler air temperatures combined with typically more consistent rainfall give new grass seed the best possible chance to establish strong roots before the lawn goes dormant for winter. Waiting until spring to address lawn damage usually means a longer recovery and more competition from weeds.
Step 9: Mulch Around Trees, Shrubs, and Perennial Beds
Finish your fall prep with a 2 to 3 inch layer of mulch around the base of trees, shrubs, and perennial beds. This layer:
- Regulates soil temperature through freeze-thaw cycles.
- Retains moisture so roots don’t dry out during dry winter stretches.
- Suppresses weed growth heading into spring.
One important detail: keep mulch pulled back a few inches from tree trunks and plant stems. Piling mulch directly against a trunk traps moisture against the bark and can lead to rot.
Don’t Try to Do Everything in One Weekend
It’s tempting to power through the entire list in a single afternoon, but fall garden prep doesn’t need to happen all at once. Spread it across a few weekends if needed — the order matters more than the speed. Clean-up and dividing should generally come before mulching, and bulbs should go in before the ground gets too cold to work.
Fall Garden Prep Checklist
Use this as a quick reference:
- Remove spent annuals and finished vegetable plants
- Cut back most perennials, but leave seed heads for birds
- Divide overcrowded perennials (hostas, daylilies, irises)
- Plant spring-blooming bulbs at the right depth
- Test and amend soil with compost or needed nutrients
- Cover bare beds with mulch or a cover crop
- Bring tender plants indoors before first frost
- Clean and store garden tools
- Aerate and overseed the lawn
- Mulch around trees, shrubs, and perennial beds
Final Thoughts
None of these steps individually take more than an afternoon, but together they make a significant difference in how your garden performs next year. A garden that’s properly put to bed in fall wakes up with healthier soil, fewer weeds, and stronger plants — which means less work and more blooms when spring comes back around.
Start with clean-up, work your way through dividing and planting, and finish with protection. Your spring self will notice the difference.
Read Next
- How to Choose the Best Spot for Indoor Plants
- How to Build a Simple Weekly Indoor Plant Care Routine That Actually Works
- How to Diagnose Common Indoor Plant Problems

Cosmin Stefanoiu is the founder and editor of The Leafy Room, a practical guide focused on indoor plants, plant care, pots and planters, small-space gardening, and thoughtful plant styling.
He creates clear, beginner-friendly editorial guides designed to help readers choose plants, understand everyday care, and make practical decisions for real homes.